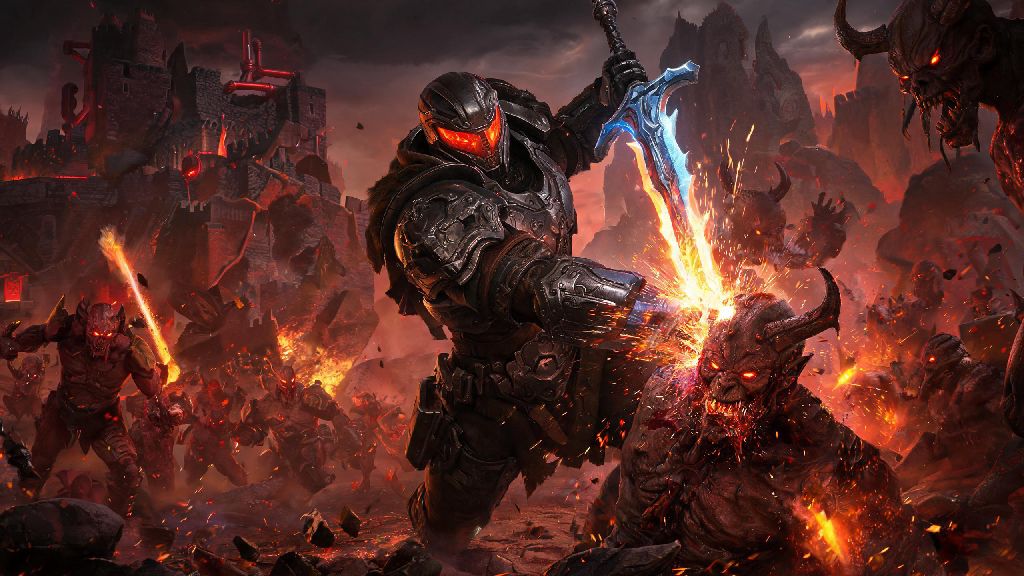
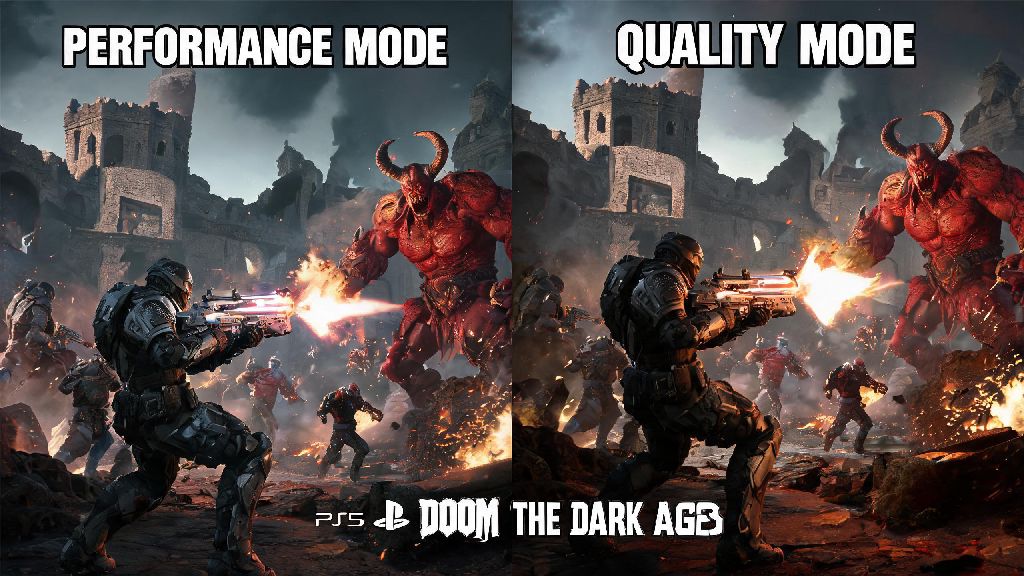
If you’ve been craving a fresh, gritty twist on classic DOOM’s fast-paced combat, the Doom the Dark Ages DLC campaign is probably already at the top of your download list. I spent 12 hours blasting through every level on Ultra-Violence last week, and while I hit more than a few frustrating roadblocks with cursed knights and hell-infused catapults, I also picked up a ton of hacks that make even the hardest runs feel manageable. This guide skips the generic fluff, sticks to tested tactics, and covers everything you need to know to get 100% completion, unlock all secret collectibles, and have a blast while you do it.
Key Mechanics Unique to the Doom the Dark Ages DLC Campaign
The first thing you’ll notice when you boot up the campaign is that it doesn’t play like a standard DOOM mission pack. The devs wove in dark age survival and resource management twists that force you to adjust your usual run-and-gun playstyle, even if you’ve beaten the base game 10 times. Divine favor points replace standard ammo drops for your new holy weapons, so you can’t just spray and pray through hordes of enemies—you have to earn charges by landing glory kills on hell-possessed villagers and knights.
You’ll also encounter environmental traps specific to the setting, like burning thatch roofs that can take out half your health if you get caught under a collapsing beam, or moats filled with cursed water that drains your armor faster than a cacodemon’s fire blast. I made the mistake of ignoring these environmental cues during my first run through the York siege level, and I died three times before I realized I could trigger a collapsing gate to take out 15 possessed soldiers at once instead of fighting them one by one. That means you should always scan your surroundings before you trigger a big combat encounter, even if you’re used to charging in head first.
Best Builds for Every Difficulty Level
Your go-to base game build of maxed out shotgun and rocket launcher upgrades won’t cut it here, because most enemies have dark age-specific armor that negates 30% of standard ballistic damage. You have to mix holy and demonic upgrades to get the most damage output, and the best build changes a lot depending on if you’re playing on Hurt Me Plenty or Ultra-Nightmare. I tested 7 different builds across 3 playthroughs, and these are the only three worth running:
- Holy Crusader Build (Beginner Friendly): Max out the holy crossbow and blessed shield first. The crossbow one-shots most basic possessed enemies, and the shield lets you block heavy attacks from boss knights without losing health. Pair it with a standard super shotgun for close-range crowds, and you’ll be able to get through most levels without dying more than twice.
- Berserker Build (Intermediate): Invest fully in the unholy axe and rage meter upgrades. This build lets you trigger 10 seconds of unlimited glory kills every time you take out 5 enemies in a row, which is perfect for clearing big siege encounters fast. The only downside is you have almost no long-range damage, so you’ll need to prioritize picking off archers first before they chip away your health from afar.
- Stealth Sniper Build (Ultra-Nightmare Only): This build only works if you’re willing to skip some combat encounters entirely. Max out the silent longbow and stealth run upgrades, and you can sneak past 60% of non-boss fights to save resources for end-level bosses. It’s not as fun as blasting through hordes, but it’s the only reliable way to beat Ultra-Nightmare without spending 20 hours restarting levels.
I ran the Holy Crusader build for my first playthrough, and I still go back to it when I’m playing co-op with friends who are new to the DLC. It’s forgiving, has enough damage for every boss, and you don’t have to stress about managing a million different cooldowns to stay alive.
Hidden Secrets and Collectibles You Won’t Want to Miss
The campaign has 42 hidden collectibles spread across 12 levels, and unlocking all of them gets you access to the secret bonus level where you fight a hell-infused King Arthur boss, which is easily the most fun part of the entire DLC. Most of these collectibles are hidden in plain sight, but you’ll miss them if you’re just rushing through levels to get to the next combat encounter. The most valuable collectibles are the holy relics, which give you permanent stat boosts like 10% extra health or 15% faster reload speed for all weapons.
I missed three relics in my first playthrough, and I noticed a huge difference in how hard the final boss was when I went back and collected them before my second run. You don’t have to go out of your way to find every single collectible if you don’t care about 100% completion, but I highly recommend grabbing any relic you see, even if it means backtracking a few minutes to get it. One trick I picked up is that any wall that has a small crack near the bottom and sounds hollow when you shoot it hides a secret room. I used to waste ammo shooting every wall to find secrets, but now I just listen for that hollow sound when I’m moving through levels, and I find 90% of them without extra effort.
Boss Fight Tactics to Avoid Wasting Hours Restarting
The boss fights in this DLC are way harder than base game DOOM bosses, mostly because they have multiple phases and summon hordes of minions that can overwhelm you if you don’t have a plan. Most players don’t realize that the Doom the Dark Ages DLC campaign bosses have weak points specific to holy weapons, so you should always lead with your holy crossbow or axe when you first start a boss fight. I spent an hour and a half fighting the final Baphomet-possessed King Harold boss on my first Ultra-Violence run, and I only beat it once I stopped trying to damage the boss directly during the first two phases.
The trick for most dark age-themed bosses is to clear minions first before focusing on boss damage. It feels counterintuitive, because the boss will be throwing attacks at you the whole time, but if you ignore the minions, you’ll get swarmed before you can get through the first phase. For example, the first boss, the Possessed Abbot, summons cursed monks that heal him every 10 seconds if you don’t take them out immediately. I kept trying to shoot the abbot directly, and his health kept going back up to full before I could get him down to half. Once I started prioritizing the monks first, I beat him in less than two minutes. Another common mistake players make is saving their glory kill charges for boss damage. You’re way better off using glory kills on minions to refill your health and armor during boss fights, because you’ll take way less damage over time if you’re at full health for every boss attack.
At the end of the day, the Doom the Dark Ages DLC campaign is one of the most creative and fun DOOM expansions released in years, as long as you’re willing to adjust your playstyle to fit the unique dark age setting. You don’t have to follow every tip in this guide to have a good time, but sticking to the build recommendations and boss fight tricks will cut down on frustrating restarts and let you focus on the fun parts: blowing up possessed knights and exploring the hell-infused medieval world. If you find a tactic that works better for your playstyle, run with it—half the fun of DOOM is experimenting with different builds and finding weird hacks to take out enemies faster. Next time you boot up the DLC, try out the Holy Crusader build first, and keep an eye out for those hidden relics to make your run way smoother.