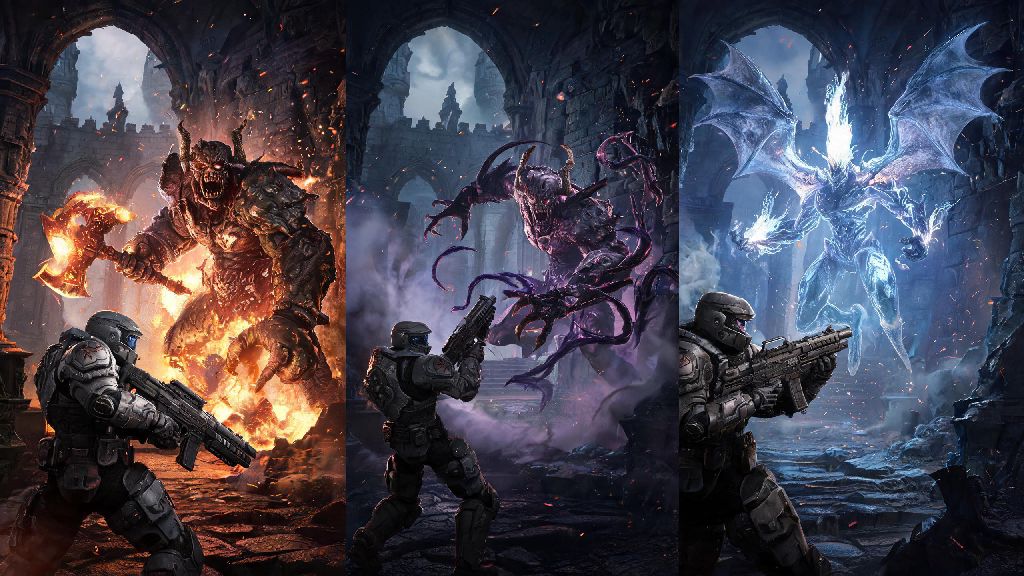
If you’ve spent any time running through the gritty, demon-infested levels of the latest Doom entry, you’ve almost certainly run face-first into a fight that made you throw your controller across the room. For most players, that fight is the first encounter with the giant cacodemon in Doom: The Dark Ages. This towering, floating monstrosity doesn’t just look intimidating—it packs enough firepower to wipe out your entire armor bar in a single hit if you’re not careful. I’ve died to this boss at least 12 times during my first playthrough, so I’ve put together every tip, trick, and hack I picked up to help you take it down on your first (or at least third) try.
Key Weak Points of the Giant Cacodemon in Doom: The Dark Ages
You don’t need to waste every round in your ammo reserve on this demon to take it down. It has three very specific weak points that deal 3x more damage when hit, so targeting these first will cut your fight time in half. The glowing orange mouth is its most vulnerable spot, especially when it’s charging up its plasma projectile attack. If you can land a well-timed rocket or super shotgun blast right as it opens its mouth to fire, you’ll stagger it for 3 full seconds, giving you time to reposition or unload more damage.
Its two floating, tentacle-like eye stalks are the next best targets. Each one you destroy cuts the accuracy of its ranged attacks by 40%, so you’ll have a much easier time dodging once those are gone. Don’t bother shooting its thick, scaly hide—you’ll barely scratch it, and you’ll burn through ammo you can’t afford to waste. If you hit the mouth during a stagger window, you can knock off up to 15% of its health in a single shot, so it’s worth waiting for those openings instead of firing randomly.
Ideal Loadout for the Fight
You can walk into this fight with whatever guns you happen to have on you, but you’ll have a way easier time if you prioritize a few specific weapons before you trigger the boss encounter. The super shotgun is non-negotiable for close-range stagger windows, since it deals massive burst damage in a tight spread that’s perfect for hitting its open mouth. Pair that with the rocket launcher for long-range shots when it’s floating high above the arena, and you’ve got your core damage dealers covered.
You’ll also want to keep the plasma rifle on hand for clearing the small cacodemon minions that spawn halfway through the fight—its fast fire rate can take out groups of small demons in seconds without wasting your heavier ammo. Don’t forget to stock up on at least 4 large health pickups before you enter the arena, because even a glancing blow from its plasma attack will take off 60% of your health bar if you’re not wearing full armor.
Before you trigger the boss cutscene, make sure you tick these boxes:
- Fully upgrade your super shotgun’s spread modifier to deal extra damage at medium range
- Clear all small demons from the arena entrance so you don’t get ambushed mid-fight
- Save at least 2 glory kill charges to regain health during low points in the battle
Phase-by-Phase Fight Walkthrough
The fight has three distinct phases, each with different attack patterns you need to watch out for. Phase one starts as soon as the cutscene ends, and the giant cacodemon will only use two attacks: slow-moving plasma balls that you can dodge by strafing left or right, and a close-range bite attack if you get too close. This is the best phase to take out its eye stalks, since it moves slower than it does in later phases. You can usually get 2-3 good shots at each stalk before it moves out of range.
The giant cacodemon will roar loudly to signal the start of phase two, so you’ll know exactly when to switch to clearing minions. This phase triggers when it hits 60% health, and that’s when it starts spawning small cacodemon minions and using a wide-range sonic scream attack that can knock you back into arena hazards like lava pits. Don’t focus on the boss during this phase first—clear the minions as fast as you can, otherwise they’ll swarm you and drain your health while you’re distracted.
Phase three starts when it hits 20% health, and it will start charging at you non-stop, firing fast-moving plasma blasts as it moves. This is where you want to use all your saved heavy ammo, targeting its open mouth every time it pauses to charge an attack. Don’t be afraid to use your glory kills on any remaining minions during this phase to get quick health refills, because you won’t have time to search for pickups. If you time your dodge right as the giant cacodemon fires its plasma blast, you can even strafe behind it and get a free shot at its unprotected back mouth opening.
Common Mistakes to Avoid
I made every single one of these mistakes during my first few attempts, so you don’t have to. The biggest mistake players make is staying too close to the boss for too long. It might be tempting to unload all your super shotgun rounds as fast as possible, but its close-range bite attack is an instant kill even with full armor, so you should only get within 10 feet of it when it’s staggered. If you see it lean forward, that’s your cue to back up as fast as possible.
Another common mistake is wasting rocket ammo on its hide when its mouth is closed. If you can’t see the glowing orange inside of its mouth, switch to the plasma rifle or save your ammo until it opens up to attack. Never stop moving during the third phase—even if you think you’re far enough away, its charge attack covers the entire length of the arena in 2 seconds, so you need to be strafing constantly to avoid getting hit.
You also don’t need to save your power-ups for later—use the berserk power-up as soon as you pick it up in phase two, and you can take out all the minions with one punch each, saving you tons of ammo and time. Don’t ignore the small health pickups scattered around the arena either, even if you’re at full health. You never know when you’ll take a random hit and need that extra 20 health to stay alive.
You don’t need to be a pro Doom player to take down this boss, you just need to know what to target and what to avoid. Take your time in phase one to take out the eye stalks, clear minions as soon as they spawn, and only fire heavy ammo at its open mouth, and you’ll get through the fight without wasting hours on respawns. The giant cacodemon in Doom: The Dark Ages is one of the toughest bosses in the game, but beating it also comes with some of the best rewards, including a unique demon skin and a permanent damage boost for your super shotgun. Next time you see that giant floating demon pop up on your screen, you’ll know exactly what to do instead of panicking and wasting all your ammo in the first 10 seconds.