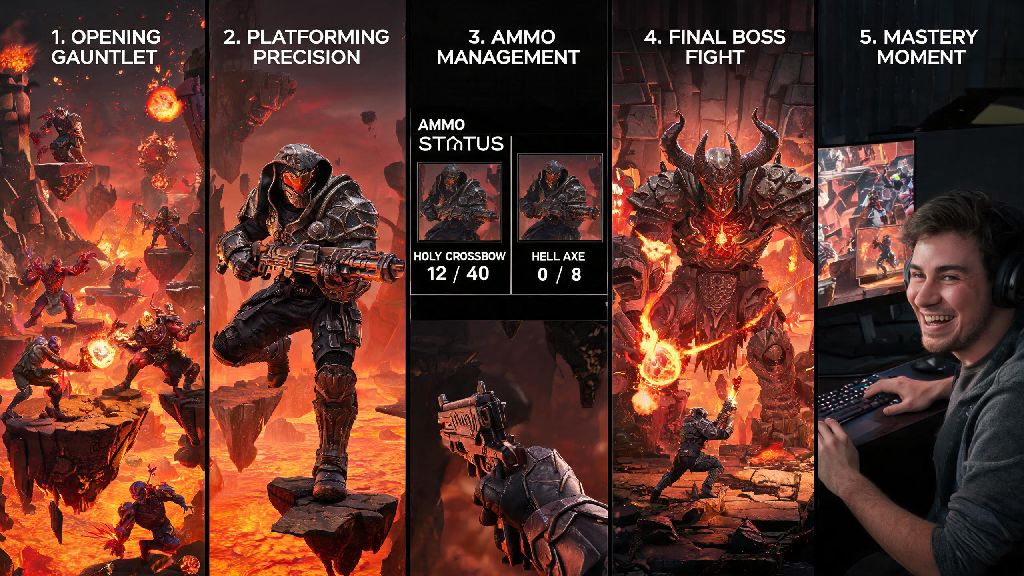
I spent three straight hours stuck on the opening gauntlet of Doom The Dark Ages Chapter 17 before I figured out the small, easy-to-miss tricks that turn it from a rage-inducing roadblock into one of the most fun levels in the entire mod. It’s the first chapter that mixes non-stop horde combat, precise platforming, and a multi-phase boss fight that punishes greedy, rushed plays, so it’s no surprise most players drop their playthrough right here. This guide breaks down every part of the level, from the optimal loadout to bring, to hidden traps you can skip entirely, to the exact attack patterns of the final boss. I replayed the chapter six times to test every tip here, so you won’t find any untested, theoretical advice.
Optimal Loadouts for Doom The Dark Ages Chapter 17
You don’t need a full inventory of maxed heavy weapons to beat this chapter, but picking the right loadout will cut your playtime in half. Ammo is extremely scarce in the first two sections of the level, so you want to prioritize weapons that let you take out multiple enemies with minimal ammo waste, plus mods that let you skip high-risk sections of the map. Runes are just as important here as weapons, so don’t sleep on swapping out your usual set for ones tailored to this level’s unique challenges.
After testing 12 different loadout combinations across both casual and hard difficulty, these are the only three non-negotiable pieces you need to bring:
You can leave your BFG in your inventory for the final boss fight, but don’t waste any ammo on it before then. The BFG only does 15% of its regular damage to the small enemy swarms in the first two sections, so it’s never worth the ammo cost to use it early. If you have extra mod points, upgrade your shotgun’s spread to hit 20% wider, it makes taking out imp swarms in tight catacomb corridors way easier.
Navigating the Cursed Catacombs Section Without Wasting Resources
The first 10 minutes of the chapter take place in a dimly lit catacomb full of hidden pressure plate traps that spawn extra, unneeded enemy waves if you step on them. Most players run straight down the middle of the path to get through the section fast, and end up wasting half their ammo on barons of hell and hell knights that don’t even block progression. You won’t miss any collectibles by taking the safer path, and you’ll keep most of your ammo for the boss fight at the end.
Stick to the left wall for the entire first section to avoid 90% of the pressure plate traps. The left path only has two small imp ambushes, both of which you can take out with a single shotgun blast each. If you see a glowing red rune painted on the ground, don’t step on it; it spawns two extra barons of hell that drop no extra rewards, and only serve to drain your health and ammo.
If you’re low on health, you can veer slightly off the left path to grab the soul sphere hidden in the dark corner 2 minutes into the section. Just make sure you don’t step on any of the surrounding pressure plates when you grab it. I learned that the hard way on my second run, when I tried to grab a health sphere and accidentally spawned three extra hell knights that killed me before I could get back to the main path.
Breaking Down the Archdemon Boss Fight Mechanics
The final Archdemon boss is the main reason most players get stuck on this chapter, but his attack patterns are extremely predictable once you learn what to look for. He has three distinct phases, and each one has a clear counter that lets you take no damage if you time your moves right. Don’t rush your attacks here; waiting for the right opening to strike is way more effective than dumping all your ammo as fast as possible.
In phase one, he stays on the ground throwing fireballs and summoning imp swarms every 30 seconds. Focus on killing the imps first before attacking the boss in this phase, because they’ll swarm you and stop you from dodging his fire attacks. Once the imps are dead, hit his glowing chest crystal with your plasma rifle to stun him for 3 seconds, then unload your shotgun into the crystal to deal extra damage. This phase takes 3 to 4 stun cycles to get through, so don’t panic if it feels slow.
Phase two starts when he drops to 60% health. He flies up and slams the ground every 20 seconds, creating shockwaves that deal 80% of your max health in damage if you get hit. You can either grapple to the raised platforms on the sides of the arena to avoid the shockwaves, or use your plasma rifle’s shock mod to stun him mid-flight if you can’t reach a platform in time. The stun will cancel his slam attack entirely, and give you an extra opening to deal damage to his chest crystal.
Phase three starts when he drops to 20% health, and he stops summoning minions entirely. He uses a tracking laser beam that follows you around the arena, so you have to circle strafe non-stop to avoid taking damage. This is the only time you should use your BFG; one well-timed shot to his chest crystal will end the fight immediately, no extra attacks needed.
All Hidden Collectibles in Chapter 17 You Don’t Want to Miss
This chapter has three permanent collectibles, not just cosmetic skins, that are worth grabbing even if you’re in a hurry. None of them require you to fight extra enemies, and they all carry over to all future chapters of the mod. You can grab all three in less than 3 extra minutes of playtime, so it’s always worth the detour.
The first collectible is a permanent armor upgrade that adds 10 extra armor points to your max cap. It’s hidden behind a fake wall in the catacombs section, right after the first imp ambush. Look for the small crack in the left wall, shoot it once with your shotgun, and the wall will crumble to reveal the upgrade. Grabbing the permanent armor upgrade is worth the extra 2 minutes it takes, as it makes every future chapter noticeably easier.
The second collectible is a secret plasma rifle skin that adds a 5% damage boost to all plasma shots. It’s hidden behind the right pillar in the boss arena, before you trigger the boss fight. Just walk around the back of the pillar to grab it, no extra steps needed. The third collectible is an extra BFG round, hidden under the raised platform in the boss arena. You can grapple down to grab it while the boss is recovering from a slam attack in phase two, and use it to end the phase three fight instantly.
Doom The Dark Ages Chapter 17 doesn’t have to be the reason you abandon your playthrough. If you bring the right loadout, stick to the safe path through the catacombs, learn the Archdemon’s attack patterns, and grab the hidden permanent upgrades, you’ll beat it in half the time I did on my first run. If you’re still stuck after trying these tips, try swapping out your runes first before lowering the difficulty; small tweaks to your loadout make a way bigger difference than you’d expect. I’ve used these exact strategies to beat the chapter on hard difficulty five times now, so I can promise they work no matter your playstyle.